WHY THIS RESOURCE MATTERS
Inspect the roof only after planning safe access
Roof condition matters, but no checklist justifies unplanned access. Before approaching a roof, confirm authorization, competent people, suitable access, weather, edge and opening controls, fragile surfaces, and any site-specific method. Many useful observations can be made from protected positions or supported by a specialist roof contractor.
Map observations to roof zones, outlets, penetrations, elevations, and interior areas below. Water can travel before it becomes visible indoors, so distinguish a confirmed opening or active leak from a possible relationship between staining, drainage, and external details.
CHECKLIST
What to include
- 01Safe access assessment
- 02Roof covering condition
- 03Flashing and penetrations
- 04Gutters and drains
- 05Standing water
- 06Edges and parapets
- 07Visible movement or damage
- 08Interior leak indicators
- 09Photo locations
- 10Repair priority and owner
WHAT TO LOOK FOR
Roof observations that benefit from location mapping
Covering damage
Splits, punctures, displaced units, open laps, blisters, and worn surfaces should be shown within the wider roof zone.
Flashing and penetrations
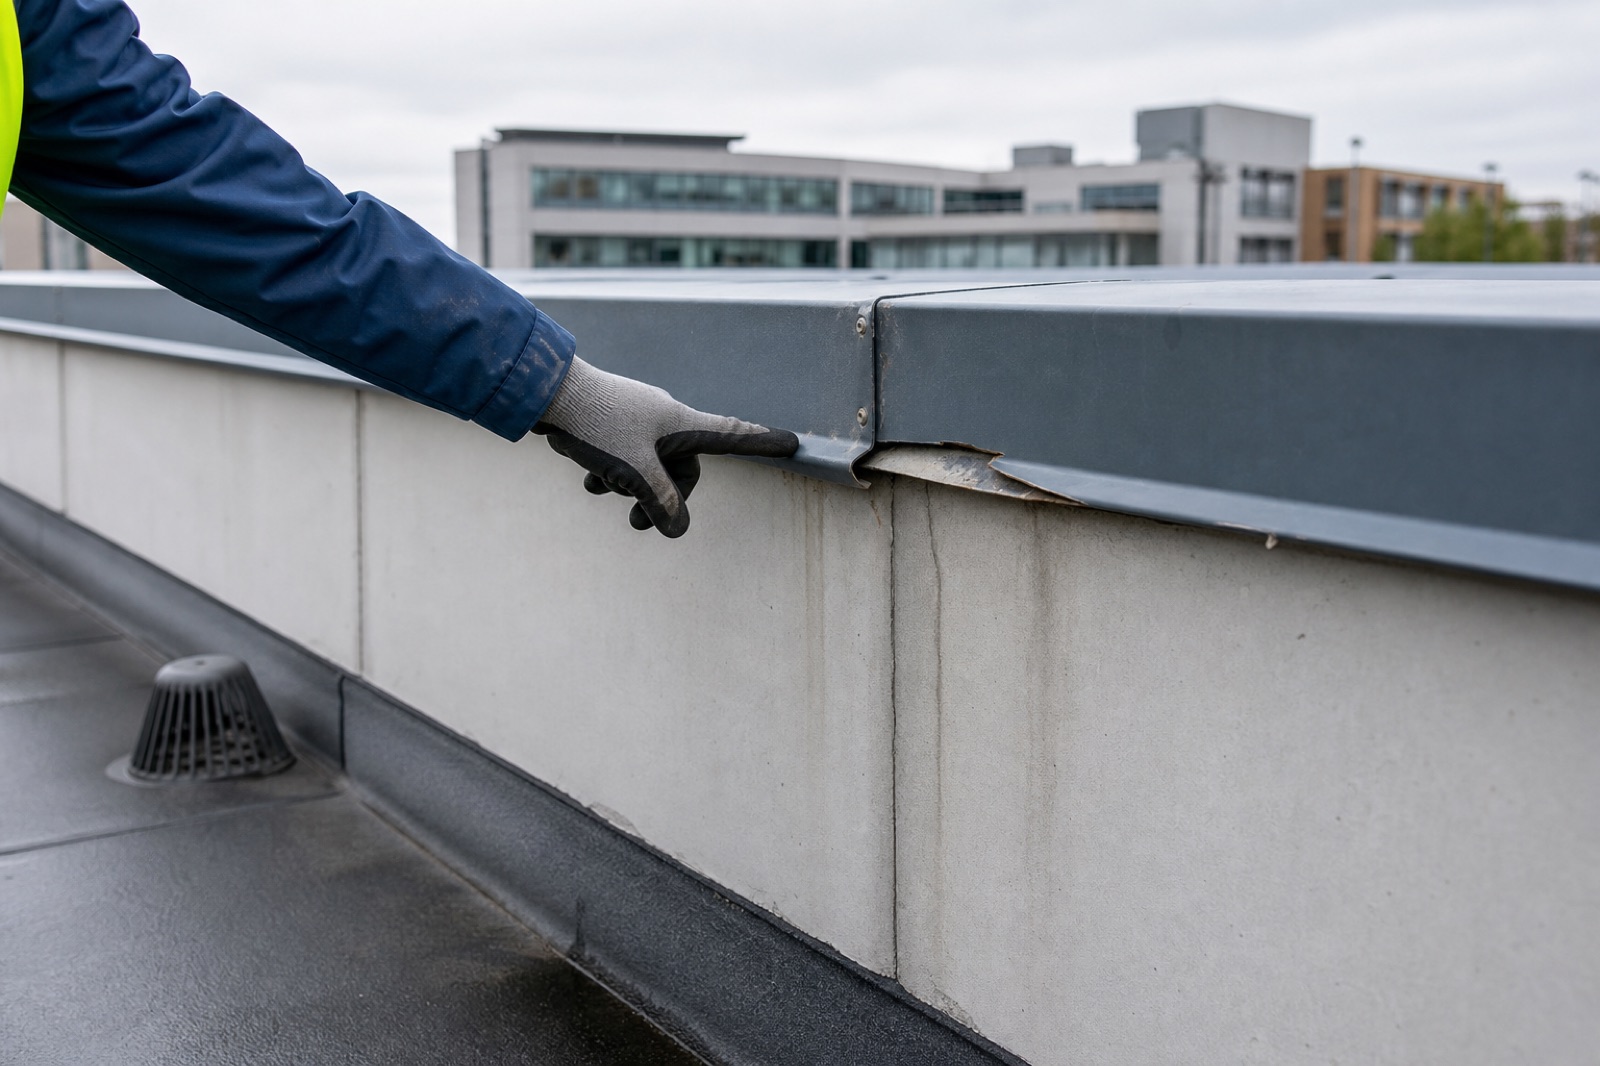
Open joints, failed sealant, loose counterflashing, and stressed interfaces often need both elevation and detail images.
Drainage condition
Blocked outlets, debris, silt lines, standing water, overflow marks, and poor falls should include the downstream route.
Edges and attachments
Loose cappings, unsecured items, damaged guards, and equipment supports may affect both weathering and people below.
Interior indicators
Ceiling stains, damp surfaces, peeling finishes, and occupant leak reports should be aligned with the roof plan where possible.
FIELD WORKFLOW
How to use this template
- 1
Review access arrangements, roof information, weather, known fragile areas, previous leak locations, and the inspection method before leaving ground level.
- 2
Follow the authorized safe route and mark each observation on a roof plan or consistent zone reference without stepping outside protected areas.
- 3
Pair exterior evidence with interior indicators, state what is confirmed versus suspected, and escalate active exposure while protecting occupied finishes below.
- 4
Verify repair documentation and inspect from an authorized position after suitable weather, retaining before-and-after images at the same mapped location.
PRIORITY GUIDE
Balance weather exposure with access risk
Control an active exposure
Use for active water entry, loose materials, unsafe access, or damage that could rapidly affect occupied areas or people.
Arrange a repair window
Use for confirmed deterioration that is currently stable but needs suitable weather, safe access, materials, and competent repair.
Seasonal observation
Use for early wear, drainage patterns, sealant aging, or uncertain staining that should be compared after weather events.
FIELD EXAMPLE
Example: staining below a parapet
For staining beneath a north parapet, record the interior room and ceiling position before relating it to the roof zone above. From an authorized safe position, photograph the parapet length and the specific flashing joint, noting whether surfaces were wet and when rain last occurred. Recommend competent investigation of the mapped interface, not a guaranteed diagnosis, and request repair evidence plus a follow-up check after rainfall.
BEFORE YOU START
Adapt it to the job
Names, inspection frequency, acceptance criteria, retention rules, and sign-off responsibilities vary by project and jurisdiction. Remove irrelevant items and add the exact standards, drawings, specifications, and responsible people that apply to your work.
Do not access a roof without appropriate authorization, fall protection, weather conditions, and competence.